Vintage Canon camcorders have an undeniable charm. However, after 15 to 25 years of service, most of them face a fatal flaw: the original lithium-ion battery is completely dead. If your model uses a Canon BP-915 battery (or its close relatives, the BP-911 and BP-914), a simple battery replacement can bring it back to life in under 30 minutes.
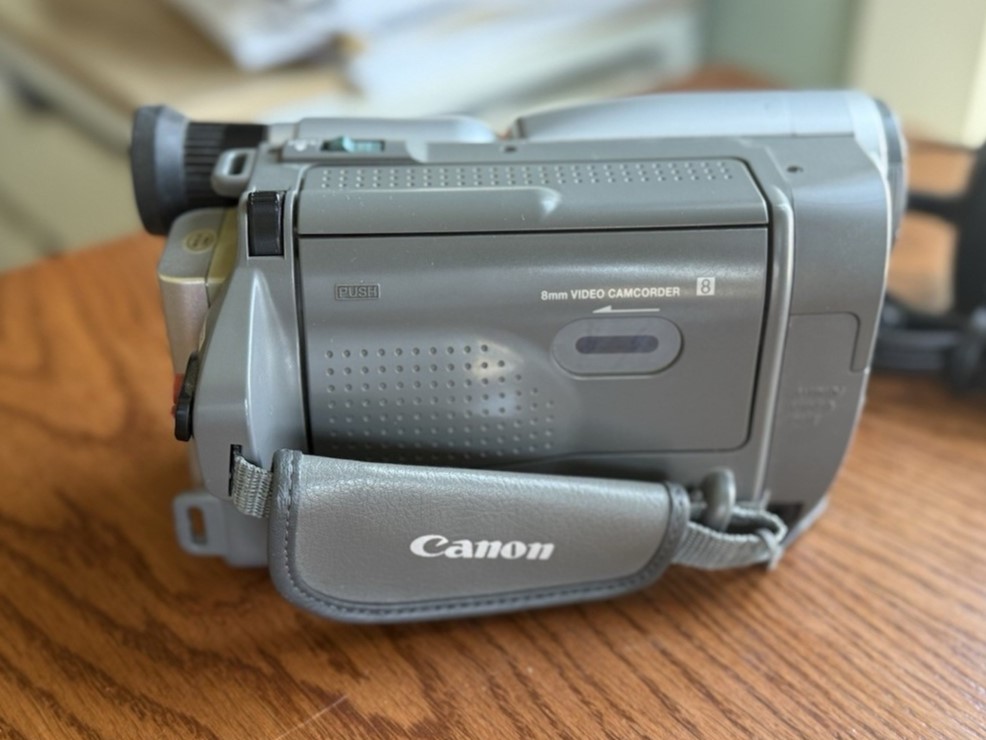
This guide will walk you through how to tell if your battery needs replacing, which models are compatible, and how to safely change it.
Which Models Use the BP-915 Battery?
This battery series powers a wide range of Canon camcorders from the late 1990s and early 2000s, particularly the Hi8 and early MiniDV lineups. Common compatible models include the Canon ES300V, ES4000, ES410V, ES420V, E1, E2, E30, DM-MV1, and DM-MV10.
If your camcorder features a rectangular, slide-in battery slot on the back or side, it likely belongs to this family. Always check the exact model number on the bottom plate of your device before purchasing a replacement.
Clear Signs Your Camcorder Needs Attention
Don’t wait for total failure before taking action. Look out for these common early warning signs:
- Severely reduced runtime: Your battery life drops drastically from the original 45 to 60 minutes down to just 10 or 20 minutes.
- No power: The camcorder refuses to turn on even after charging overnight.
- False low-battery alerts: The battery indicator displays “low power” or flashes a warning immediately after inserting a seemingly fully charged pack.
- Physical deterioration: The battery pack appears swollen, feels hot to the touch, or causes the camcorder to shut down abruptly during recording.
- Erratic display: A flickering power light or glitching LCD screen/viewfinder, which are classic symptoms of low voltage.
These issues almost always stem from an aging or degraded battery pack. Lithium-ion cells from that era lose a massive amount of capacity over time, even if they have been sitting idle in a closet for a decade.
How to Replace the Battery (Step-by-Step Guide)
This is a perfect beginner-friendly DIY project that requires absolutely no tools.
- Power down: Turn off the camcorder completely and unplug any AC power adapters.
- Locate the release: Find the small release slider or button along the edge of the battery compartment, usually on the back or bottom.
- Remove the old battery: Press or slide the release mechanism, then gently pull the old battery straight out or downward.
- Get a replacement: Purchase a high-quality replacement battery labeled BP-915, BP-911, or BP-914. Opt for a 7.2V battery with a capacity of at least 2000mAh to significantly boost your runtime.
- Insert the new battery: Align the gold metal contacts and slide the new battery into place until you hear a distinct click.
- Charge fully: Use a compatible charger to bring the battery to 100%. A full charge typically takes 2 to 4 hours. For the best long-term health, complete one full charge and discharge cycle.
Quick Tip for Better Reliability
Once the battery is removed, dip a cotton swab in 90% or higher isopropyl alcohol and gently clean the metal contacts on both the battery pack and inside the camcorder. Let them dry completely. Dirty contacts are the root cause behind many “failing to charge” or sudden power-loss issues.
Additional Steps to Restore Peak Performance
While a fresh battery solves power issues, these vintage camcorders often require one more step to function perfectly: cleaning the tape transport system with a head-cleaning tape.
Oxide buildup on the video heads is the second biggest performance killer after a dead battery. If playback remains choppy or tapes load slowly after swapping the battery, the drive belts might be worn out or stretched. This is a common mechanical aging issue that typically requires professional repair or a DIY belt replacement kit.
Finally, if you plan to store your camcorder without using it for several months, always remove the battery. Leaving a depleted battery inside can quickly ruin your next pack.